Migrate Your Rails App from Heroku to AWS Lambda
Using The New ActiveRecord Aurora Serverless Adapter
Are you someone with a pet Rails project running on a Free, Hobby, or Professional Heroku plan? Perhaps your company or freelance gig has a valuable, but infrequently used, Rails application? Such applications make great candidates for both AWS Lambda & Aurora Serverless.
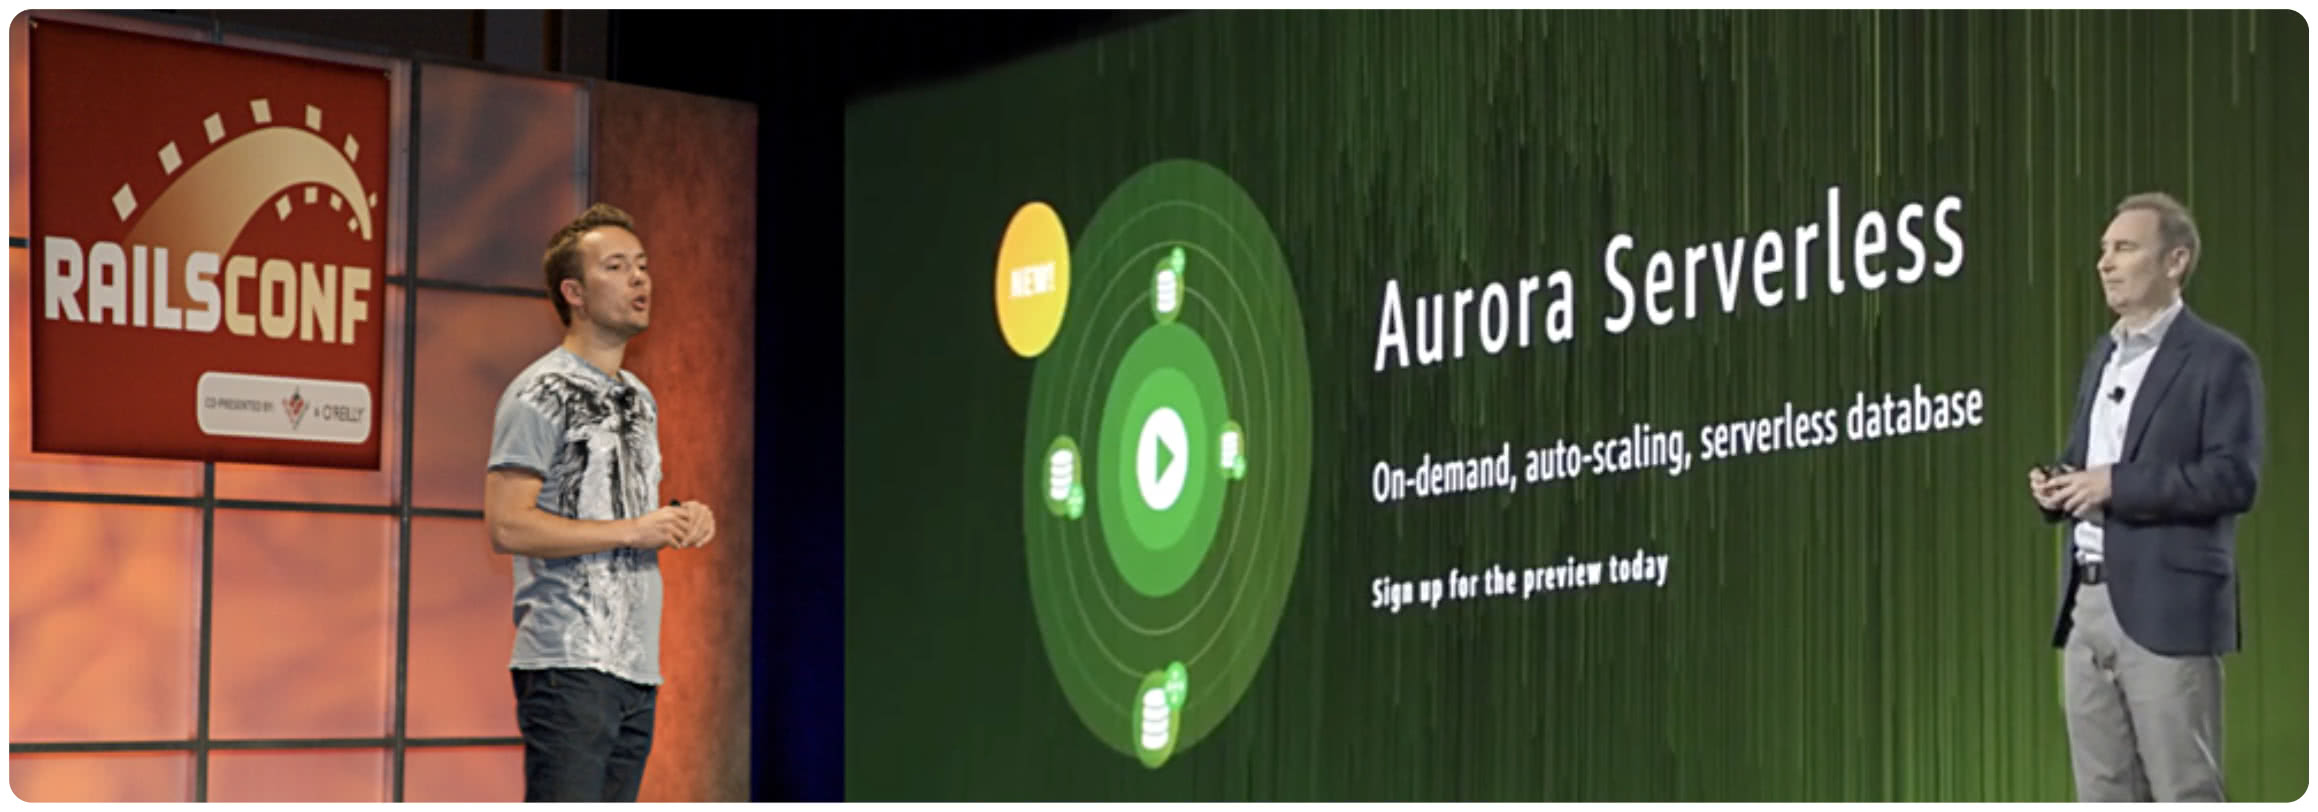
What is Aurora Serverless? It is an on-demand, auto-scaling configuration for Amazon Aurora, where the database will automatically start up, shut down, and scale capacity based on your application's needs. On top of being perfect for variable workloads, what makes Aurora Serverless powerful for Lambda is the use of its Data API via HTTP to communicate with it.
Over the past several months we have been working hard to use existing web frameworks like Rails with AWS Lambda. Our Lamby gem does just that! It has opened up new application architectures by adopting cloud-native philosophies. Till today, this typically required the use of DynamoDB as a persistent store. A fine choice, however, there are use cases for traditional relational databases. But how... and without the overhead of zombie RDS connection issues?
ActiveRecord Aurora Serverless Adapter
 Today, I'd like to introduce the new ActiveRecord Adapter for Amazon Aurora Serverless! A simple gem that replaces ActiveRecord's MySQL raw connection with an Aws::RDSDataService::Client interface. Hence leveraging your Aurora Serverless' Data API over HTTP. It is a simple drop in adapter replacement, and seamless to your application.
And what better way to show it off by migrating your Heroku application? Here are the steps we are going to take:
- Migrate PostgreSQL Data to MySQL
- Reconfigure Your Rails Project
- Install Lamby & Setup Environment Variables
- Deploy Aurora Serverless
- Import Your Heroku Data
- Your First Lambda Deploy
Migrate PostgreSQL Data to MySQL
First, I'd like to point that yes, Aurora Serverless does support PostgreSQL but our adapter as of yet does not. Since we only use MySQL at Custom Ink, this was our priority. If you are interested in contributing to the PostgreSQL implementation or talking about it more - I created this GitHub issue to track it. Stop on by!
I'll be honest, exporting and converting a pg_dump to MySQL formatted script files seems to be a tricky task. I'm going to not spend a lot of time walking through this process where other articles cover it well enough. So please use the following links below.
- Configure PostgreSQL ODBC drivers for the MySQL Workbench
- Migrate PostgreSQL databases to MySQL using the MySQL Workbench
- Connect to PostgreSQL on Heroku Using ODBC and JDBC Drivers
What did I do? I leveraged a purchased tool called Navicat Premium which has a built in feature to connect and convert data from different databases. It worked, but I had to manually hand fix a few issues. I'd love to hear what worked for you in the comments below!
Reconfigure Your Rails Project
At this point, you should have a local mydatabase.sql file representing your Heroku database in MySQL format. Our goal is to migrate your Rails project off PosgreSQL. In order to do this we need to re-create your db/schema.rb file.
First, make sure your Rails application is running v5.2 or v6.0. These are the current ActiveRecord versions we have tested the adapter against.
Now, remove the pg gem from your Gemfile and replace it with mysql2, but only in development group.
group :development do
  gem 'mysql2'
end
Configure your database.yml file to use MySQL locally for development & test environments. Alternatively, you can use Aurora Serverless here later on if you really wanted to. But I find using MySQL locally to be a little easier.
development:
  adapter: mysql2
  database: mydatabase_development
  username: root
  password:

test:
  adapter: mysql2
  database: mydatabase_test
  username: root
  password:
Run this Rails task to create your new development and test MySQL databases.
$ ./bin/rails db:create
Created database 'mydatabase_development'
Created database 'mydatabase_test'
From here we have an empty development database that we can load our production schema/data into.
$ mysql -h localhost -u root mydatabase_development < mydatabase.sql
This will allow us to generate a new schema.rb so our project can happily proceed with development using that new database.
$ rm db/schema.rb
$ ./bin/rails db:schema:dump
Congrats on migrating to MySQL! At this point, it would be a good idea to run your test suite and make sure everything is OK before moving on.
Install Lamby & Setup Environment Variables
 The Lamby gem integrates Rails with AWS Lambda by converting either API Gateway or Application Load Balancer events to Rack events. This guide below is a condensed version of its quick start guide.
Add the required gems to your Gemfile and bundle install.
gem 'lamby', require: false
gem 'aws-sdk-ssm'
With the Lamby gem installed, we can now install its SAM CloudFormation template, app handler code, and bin scripts.
$ ./bin/rake -r lamby lamby:install
Environment Variables
There are a handful of ways to configure environment variables on AWS Lambda with Rails. Our tools of choice would be to use Dotenv (for development & test) combined with SSM Parameter Store and Rails Encrypted Credentials (for production). Please reference the Dotenv docs while I focus on the latter production tools.
Edit your Rails encrypted credentials. Depending on your installed editor (Sublime, VS Code, etc.) one of these should work for you.
$ EDITOR="vi" ./bin/rails credentials:edit
$ EDITOR="subl --wait" ./bin/rails credentials:edit
$ EDITOR="code --wait" ./bin/rails credentials:edit
Log into Heroku. From your app’s Settings tab, click the “Reveal Config Vars” button and copy any config vars that you will need for production into file opened when you run credentials:edit command above. You can ignore ones like DATABASE_URL. When you are done, you might have something like this.
secret_key_base: abcdefghijklmnopqrstuvwxyz

envs:
  SOME_SECRET: password
  SOME_OTHER_VAR: whatever
Now create a config/initilizers/credentials.rb file and add this code. It will load all the key/values in the envs section above and create environment variables to be used in production.
if Rails.env.production?
  envs = Rails.application.credentials[:envs]
  envs.each { |k,v| ENV[k.to_s] = v }
end
On your local machine, Rails has the master key to encrypt and decrypt your credentials. We want to put these in a secure place and avoid committing them to GitHub. That is what AWS SSM Parameter Store can do for us. This AWS CLI command will copy your config/master.key into SSM Parameter Store.
$ aws ssm put-parameter \
  --name "/config/myapp/env/RAILS_MASTER_KEY" \
  --type "SecureString" \
  --value $(cat config/master.key)
When your Rails app boots in AWS Lambda, it will need to connect to SSM Parameter Store to get your master key. Add this code to Lamby's app.rb file directly after the require 'lamby' line.
ENV['RAILS_MASTER_KEY'] =
  Lamby::SsmParameterStore.get!('/config/myapp/env/RAILS_MASTER_KEY')
Finally, update your CloudFormation/SAM template.yaml file by adding this to the Properties section of your RailsFunction. This addition allows your Lambda's runtime policy to read your app's configs from SSM Parameter store.
Policies:
  - Version: "2012-10-17"
    Statement:
      - Effect: Allow
        Action:
          - ssm:GetParameter
          - ssm:GetParameters
          - ssm:GetParametersByPath
          - ssm:GetParameterHistory
        Resource:
          - !Sub arn:aws:ssm:${AWS::Region}:${AWS::AccountId}:parameter/config/myapp/*
That was a lot! And we still have a little ways to go. Don't forget, if AWS Lambda and Lamby are both new to you, take some time to review our guides and docs before your first deploy.
- Installing the AWS CLI & SAM
- Create a S3 Deployment Bucket
- Environment & Configuration
- Asset Host & Precompiling
Oh, one last thing. Remember to match the AWS Lambda Ruby Runtime & use Ruby 2.5.5 locally.
Deploy Aurora Serverless
Here are a few options to create your Aurora Serverless cluster depending on your preference for either ClickOps or Infrastructure as Code (IaC).
🖱👷 Configure and Connect to Serverless MySQL Database - On the ClickOps side. AWS has done a great job of making a step-by-step guide. However, this guide does not walk you through enabling the Data API or creating credentials in AWS Secrets Manager. So if you go this route, please also follow this Using the Data API for Aurora Serverless guide too.
🏫👩💻 Aurora Serverless IaC Example Using CDK & TypeScript - If repeatable Infrastructure as Code is your thing and CloudFormation YAML feels a little awkward, you are in luck. I simplified the Aurora Serverless Adapter's test setup and shared it in that GitHub Gist link. It uses AWS Cloud Development Kit (CDK) with TypeScript to create an Aurora Serverless cluster, with all the settings, parameters groups, and secrets needed.
Once your Aurora Serverless cluster is deployed, you are going to need the following bits of information:
- SecretsManager ARN - Output stack above. Ex:
arn:aws:secretsmanager:us-east-1:123456789012:secret:Secret-kd3diwspxeWw-Bdsiww - Aurora Cluster ARN - Output stack above. Ex:
arn:aws:rds:us-east-1:123456789012:cluster:mydatabase - Aurora Cluster Endpoint - Found in your RDS cluster's "Connectivity & security" section in AWS Console. Ex:
mydatabase.cluster-adk13dkfyqzk.us-east-1.rds.amazonaws.com - Master Username & Password - When you created your Aurora Serverless cluster.
Import Your Heroku Data
Remember that mydatabase.sql file we migrated your PosgreSQL data to in our first steps? We used it to recreate your MySQL development structure. Now it is time to recreate your whole production database. There is just one problem. The Aurora Serverless Data API over HTTP has a maximum request capacity of 64 Kilobytes of data and I am guessing your database is bigger than that. 😀
Thankfully, we can use still use Aurora via the native MySQL protocol. In order to issue a MySQL command to execute our entire database file, we need to run it on a machine within the same VPC network that we created our Aurora Cluster in. One easy way to do that is to spin up an EC2 instance for this short lived task. Log into the AWS Console and take note of the "VPC" and "Subnets" in the "Networking" section of your Aurora Serverless database. You will need these when creating your EC2 instance.
- EC2 -> Instances -> Launch Instance
- Select "AWS Marketplace"
- Search for "Ruby Certified by Bitnami", Select, Continue
- Choose an Instance Type like "t2.micro"
- Configure your Instance
- Select the "VPC" (Network) matching your new Aurora Serverless DB.
- Select a "Subnet" matching one in your new Aurora Serverless DB.
- Review & Launch
- Use or Create a SSH Key Pair
This is not glamorous and still fraught with possible issues. Welcome to networking! For example, if you do not have a VPN to your private network, your EC2 instance might need access to both Public and Private Subnets. If SSH'ing into an EC2 instance with a newly created key is new to you, here is a link to SSH access to my Amazon EC2 Linux guide that may help.
All said and done, you will need to scp your mydatabase.sql file to an EC2 instance and run the following mysql command. Replace IP addresses, hosts, and username/passwords as needed.
$ scp "mydatabase.sql" ubuntu@172.16.20.118:/home/bitnami
$ ssh -i ~/Downloads/mykey.pem ubuntu@172.16.20.118
$ mysql \
  --host="mydatabase.cluster-dk18asdfxyqc.us-east-1.rds.amazonaws.com" \
  --user="user" \
  --password="password" \
  "mydatabase" < "mydatabase.sql"
Your First Lambda Deploy
We did a lot of work in the "Install Lamby" section earlier to prepare your first deploy. I even made the case that you should read through most of the Lamby Guides prior to your first deploy. One that I'd like to call out specifically is our guide on compiling assets.
That guide makes the case for an asset host using S3 & CloudFront. If your application is simple enough, you can forgo that complexity and simply serve static assets from your Rails app. To do so, add this line to the top of your Lamby generated app.rb file.
ENV['RAILS_SERVE_STATIC_FILES'] = '1'
Now we get to add the Aurora Serverless adapter to our Gemfile.
gem 'activerecord-aurora-serverless-adapter'
Lastly, add a production section to your database.yml file. Use the Secret ARN and Database ARN we got from the "Deploy Aurora Serverless" section above.
production:
  adapter: aurora_serverless
  database: mydatabase
  secret_arn: arn:aws:secretsmanager:us-east-1:123456789012:secret:Secret-kd2ASwipxeWw-Bdsiww
  resource_arn: arn:aws:rds:us-east-1:123456789012:cluster:mydatabase
Your Lambda will need the same permissions. Again, open up your template.yaml file and navigate to your function's Policies section and add these two. We use the secret_arn and resource_arn from your database file above with one IMPORTANT addition, each need an * at the end.
- Version: "2012-10-17"
  Statement:
    - Effect: Allow
      Action:
        - secretsmanager:*
      Resource:
        - arn:aws:secretsmanager:us-east-1:123456789012:secret:Secret-kd2ASwipxeWw-Bdsiww*
- Version: "2012-10-17"
  Statement:
    - Effect: Allow
      Action:
        - rds-data:*
      Resource:
        - arn:aws:rds:us-east-1:123456789012:cluster:mydatabase*
Assuming everything is in place, you are ready to run ./bin/deploy. These scripts will use AWS SAM to build/package and deploy your Rails application to AWS Lambda. Assuming that process went OK, you should see some stack outputs to your Application Load Balancer's (ALB) DNS name. It will look something like myapplication-2837213178.us-east-1.elb.amazonaws.com. Add http:// to that and see how your app looks.
Troubleshooting
If you have any error(s), go to CloudWatch -> Log groups and find the log group starting with /aws/lambda/ and ending with your Lambda's name. You might see something like "Could not find a JavaScript runtime" error. This would be a sign that we missed a step in our lamby guides. For example:
# config/initializers/assets.rb
Rails.application.config.assets.manifest = Rails.root.join('config/manifest.json')

# config/environments/production.rb
config.assets.js_compressor = begin
  if ENV['LAMBY_BUILD']
    require 'uglifier'
    Uglifier.new
  end
end
config.public_file_server.headers = {
  'Cache-Control' => "public, max-age=#{30.days.seconds.to_i}",
  'X-Lamby-Base64' => '1'
}
From here, it would be straight forward to add a custom domain to finish off your migration. We have a guide on the Lamby site for that too: see our Custom Domain Name, CloudFront, & SSL documentation.
What Did We Gain?
Seems like a lot of work to maybe save a few Heroku-bucks 🤑 right? If cost alone were the only motivation, I would agree that you just wasted your time.
Our work here is more meaningful than that. Consider this your Rails introduction to learning Serverless & AWS as a whole. In a sense, a stepping stone to learning - learning how to program the cloud, how to rethink our existing Rails solutions within AWS' Well-Architected framework.
From here you should approach any new problem from background jobs to database events in a new way. One that might have you choosing tools like Lambda Destinations vs Sidekiq. Let your growing application dictate what abstractions to take, micro-services to build, and more important - how to deliver value to your customers first, and quickly.
Are you a Rails developer making your way to the cloud? I'd love to hear from you in the comments on whether this post was helpful or not, if you've got any questions, or are running into problems. I'm happy to help! Thanks so much for reading.
Resources
- Lamby: Simple Rails & AWS Lambda Integration
- Custom Ink's ActiveRecord Aurora Serverless Adapter
- Amazon Aurora Serverless
- Using the Data API for Aurora Serverless
- Set up and configure PostgreSQL ODBC drivers for the MySQL Workbench Migration Wizard
- How-To: Migrate PostgreSQL databases to MySQL using the MySQL Workbench Migration Wizard
- Connect to PostgreSQL on Heroku Using ODBC and JDBC Drivers
- Configure and Connect to Serverless MySQL Database
- VPC with Public and Private Subnets
- SSH access to my Amazon EC2 Linux
- Custom Domain Name, CloudFront, & SSL